
Troubleshoot TV display issues
Things to keep in mind:
There are two HDMI ports on the side of the TRAZER Unit. When plugging the HDMI cord into the Unit, ensure the cord is plugged into the uppermost HDMI port.
Be sure to connect all cords and accessories before powering on the TRAZER Unit.
TRAZER will not display on the monitor
- If the TRAZER application is not displaying on the TV, the first thing you should check is what input setting your TV is on. Most TVs will have more than one HDMI port available and will be labeled, usually with numbers. Ensure that the HDMI port the TRAZER is connected to matches the input setting on your TV.
- If the display still does not appear on your TV, try connecting your TRAZER Unit to a different HDMI port and changing the input setting on your TV to match that port. Power down the TRAZER Unit, then power the Unit back on and wait a few moments for the display to appear.
- After checking the previous items, the next item you can check is the HDMI cord. If available, switch out the HDMI cord with another and try connecting your TRAZER Unit to your TV again.
TRAZER is not displaying full screen on the monitor
- Press ctrl + k on your TRAZER remote to exit the TRAZER+ application.
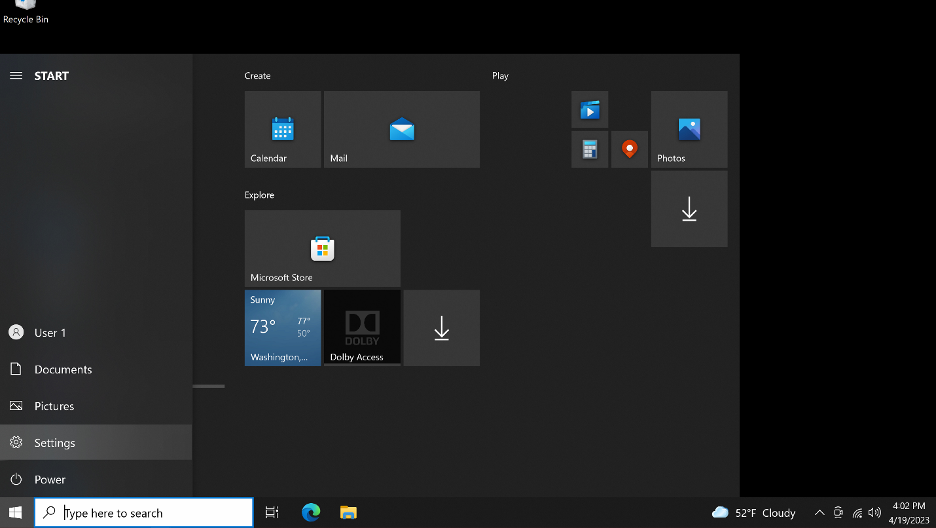
- Click the Windows icon in the bottom left-hand corner of the screen.
- Click on the gear icon to access Windows settings.
- Click on the Apps option.

- In the application search bar, type TRAZER.
- Click the “TRAZER” option and then click advanced options.

- Scroll down to the Reset section, click the Repair button, ensure a checkmark appears next to the button.

- Click the Reset button, this will display a dialogue box with another Reset button, click that button as well.

- Exit settings to return to the Windows dashboard.
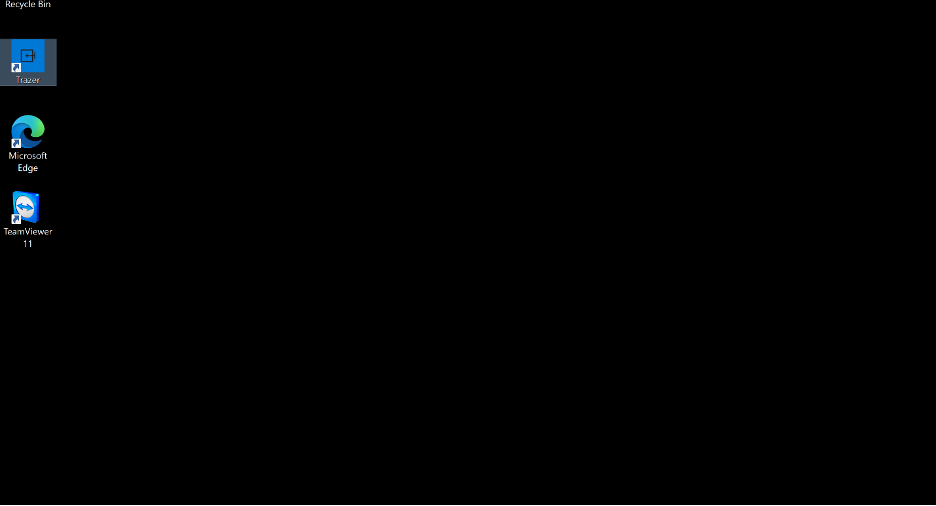
- Double click the TRAZER icon to reopen the TRAZER+ application.
If your TV is still not displaying correctly, contact TRAZER Support for further assistance.